-
Tian Dong Industrial Park, Decheng District Economic and Technological Development Zone, Dezhou City
Maintenance Windows: How To Swap Liner Panels Faster
You know the feeling. The plant gives you a tiny maintenance window. Everyone wants the line back up now. Then the liner job shows up on the schedule, and your “quick swap” turns into a long, messy stoppage.
This isn’t just annoying. It hits throughput, it burns overtime, and it makes your crew look bad even when they’re doing everything right.
So let’s talk about how you actually swap liner panels faster. Not in a perfect lab. In real-life jobs like coal bunkers, chutes, hoppers, bins, and transfer points where material loves to hang up and your hands barely fit in the access door.
I’ll argue this simple point:
Fast swaps come from design choices you make before the outage, not magic moves during the outage.
Table of Contents
Maintenance window planning for liner panels
A short window forces you to think like a pit crew. You don’t “figure it out” once the machine is down. You stage, you standardize, and you remove surprises.
Here’s what usually kills time:
- You can’t reach the backside of the liner.
- You need hot work (cutting/welding), so permits slow you down.
- Bolts seize, heads strip, hardware goes missing.
- Panels don’t align, and you fight holes for an hour.
- Material sneaks behind the liner, then everything bows and jams.
If any of that sounds familiar, you’re not alone. Most sites run into the same traps.
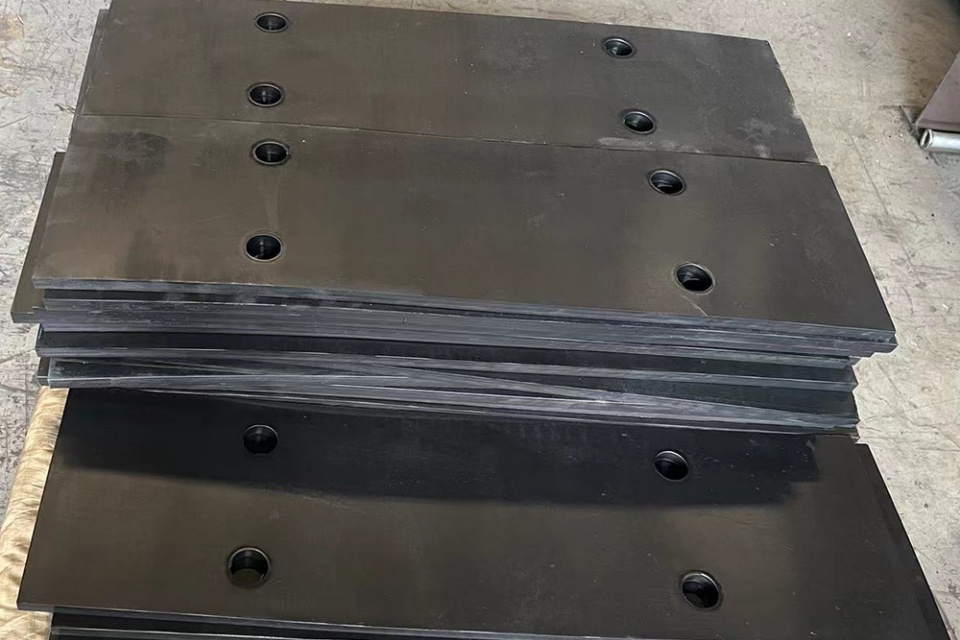
Modular liner panels and bolt-in liner panels
If you want faster swaps, stop thinking in “one big sheet.” Think in modules.
Why modular liner panels swap faster
- You replace the wear zone, not the whole wall.
- One damaged section doesn’t force a full teardown.
- You keep spares simple. A small stack of common panels beats a custom one-off plate every time.
In heavy wear spots, you can set your layout like a chessboard. High-abrasion zone gets thicker panels. Low-wear zone gets standard panels. You’re matching the lining to the abuse, not overspending time and labor.
Bolt-in liner panels beat welded liners in short outages
Welded liners can work, sure. But in a short window, welding often becomes the bottleneck. You need LOTO, confined space rules, ventilation, fire watch, and cleanup. That’s not “fast,” that’s paperwork + risk.
Bolt-in setups usually let you:
- skip hot work,
- pull panels with common tools,
- keep the job predictable.
And predictability is the whole win here.
Single-side fastening and no rear access installation
A lot of liner jobs fail the same way: the backside is blocked. You can’t get hands behind the wall. Or you need to remove guards, covers, or structure just to reach one nut.
So the goal becomes: do the work from the wear side.
What “single-side fastening” changes
- You don’t need a second person outside the chute holding a wrench.
- You don’t waste time building a workaround.
- You cut the “two-crew dance” that slows you down.
If your maintenance window is tight, rear access is a luxury. Design like you’ll never have it.
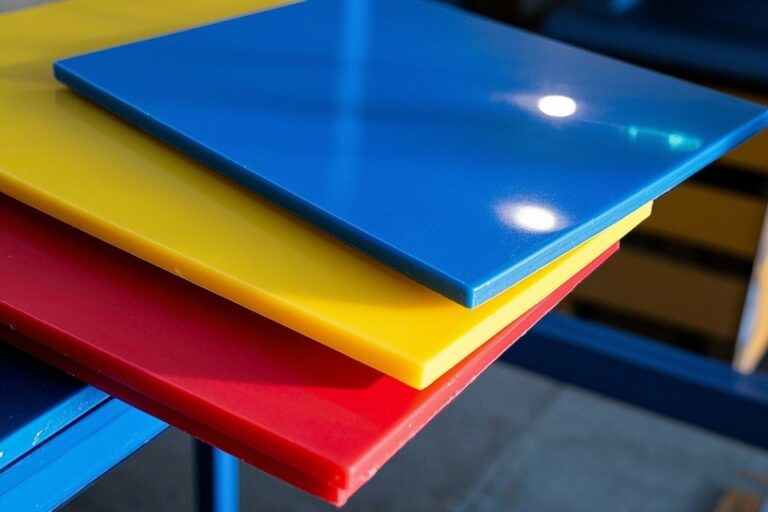
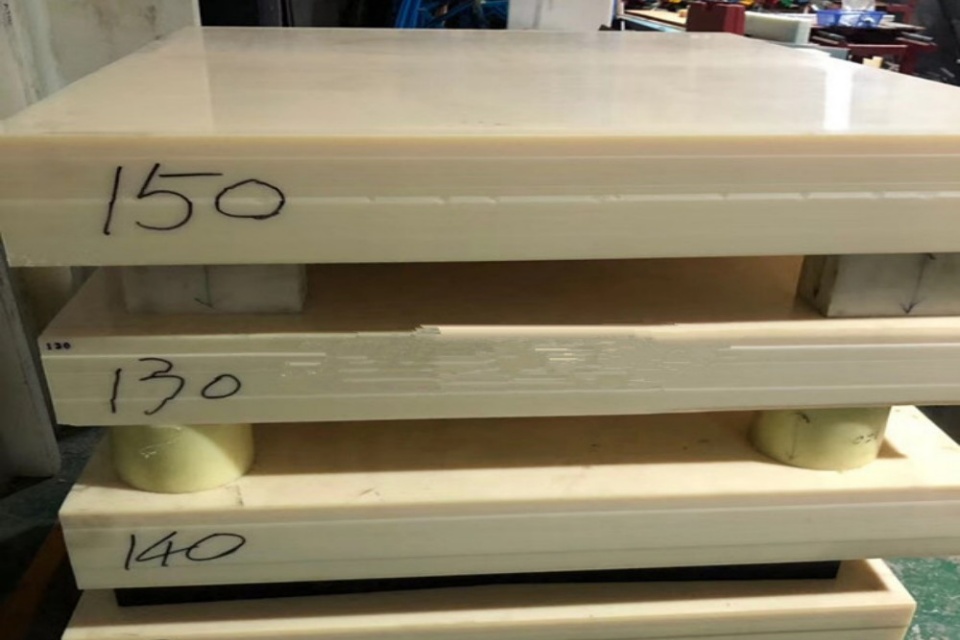
UHMWPE liners vs HDPE sheets in wear lining scenarios
People sometimes treat UHMWPE and HDPE like the same thing. They’re cousins, not twins.
When UHMWPE liner panels make sense
Use UHMWPE when you fight:
- sticking and hang-up
- bridging and ratholing
- sliding abrasion in chutes and hoppers
UHMWPE’s low friction helps material move instead of packing up. That means fewer cleanouts and less “shovel time” during shutdown.
When HDPE sheets are a practical choice
HDPE often fits:
- lighter wear zones
- corrosion-prone environments
- large area liners where you want a cost-smart sheet solution (without me throwing numbers at you)
If you want a straightforward sheet option for liners, see your internal product page here:
HDPE Sheets
And if your scenario looks like coal handling, bunker walls, or high wear + flow headaches, this page matters too:
Coal Bunker Limit Plates
Thermal expansion clearance for plastic liner sheets
This one gets ignored. Then it bites you.
Plastic sheets move with temperature. If you lock them down tight on all sides, they can:
- buckle,
- push fasteners sideways,
- wedge into seams,
- turn a “5-minute removal” into a pry-bar fight.
What to do instead
- Use slotted holes in the movement direction.
- Don’t clamp every edge like it’s steel plate.
- Leave smart gaps at joints (small, controlled, consistent).
It’s not fancy. It’s just respecting how plastic behaves in the real world.
Preventing material ingress behind liner panels
Material behind the liner is like sand in a zipper. It ruins everything.
Once fines creep behind the sheet, you start seeing:
- bulging panels
- broken fasteners
- warped mounting lines
- mystery rattles that turn into emergency stops
Simple habits that prevent it
- Use enough fastening points in high vibration zones.
- Plan seam direction so material flow doesn’t “peel” edges open.
- Keep joints tight and supported.
- Add overlap or step joints where it makes sense.
If you stop ingress, you stop a lot of unplanned rework. That alone speeds up future swaps.
Table: liner swap methods for short maintenance windows
Here’s a quick comparison you can use in meetings. It helps you explain why you want a different liner setup, without arguing feelings.
| Liner swap method | Rear access needed | Hot work needed | Hardware count | Swap speed in short window | Typical pain points |
|---|---|---|---|---|---|
| Welded liners | No | Yes | Low | Slow | permits, heat, fumes, grind/clean |
| Full-sheet bolt-in liners | Often | No | High | Medium | hole alignment, seized bolts |
| Modular bolt-in liner panels | Sometimes | No | Medium | Fast | needs smart layout + spares plan |
| Single-side fastening panels | No | No | Medium | Fast | needs correct mounting system |
| Slide-in / rail-style liners | No | No | Low | Fast | needs structure built for rails |
Notice the pattern: fewer surprises = faster swaps.
Practical maintenance window workflow for liner replacement
Here’s the playbook crews actually use when they crush a short window.
Stage the kit like you’re racing the clock
- Pre-sort panels by zone.
- Bag hardware by panel group.
- Label everything. Don’t rely on memory at 2 a.m.
Standardize tools and torque routine
- Same socket sizes when possible.
- Torque marks (paint pen) so you can spot loose points fast.
- Spare fasteners ready, not “somewhere in the truck.”
Build for repeat work, not one-time installs
If your liner design takes “special tricks” to remove, it will punish you every outage. A clean system should come apart the same way every time.
OEM/ODM liner panel kits for bulk buyers and wholesalers
If you buy liners in bulk, you don’t just want sheets. You want a system.
That means:
- panels cut to your geometry,
- hole patterns that actually match,
- staged kits per chute/bunker,
- consistent lead times and fast answers when you’re mid-job.
That’s where a manufacturer like Dongxing Rubber fits naturally. They can support OEM/ODM builds, bulk wholesale orders, and repeatable liner kits so your next outage runs smoother than the last one. You don’t need “custom” that feels like a science project. You need custom that installs clean, swaps fast, and ships on time.
The real argument: faster swaps start with smarter liner design
If you want a faster maintenance window, do this:
- Move toward modular liner panels in wear zones.
- Prefer bolt-in over welded when the window is tight.
- Choose single-side fastening when rear access is a joke.
- Allow thermal expansion so panels don’t fight you.
- Prevent material ingress so you don’t fix the same mess again.
Do those things, and you won’t need lucky breaks. You’ll get repeatable, fast swaps. And that’s the whole point.