-
Tian Dong Industrial Park, Decheng District Economic and Technological Development Zone, Dezhou City
Cleaning & Decontamination After Job Sites: Line Balancing Strategies For Optimal Efficiency
Picture this. You just finished a floorball court setup. The last match ends, people pack up, and your crew starts teardown. The boards look “fine”… until you see tape glue, shoe scuffs, dust, maybe a splash of sports drink. Now you’ve got two problems at once:
- You need a real cleaning + decontamination workflow so the next venue doesn’t inherit today’s mess.
- You still need fast manufacturing and shipping for the next order, without your shop turning into a bottleneck party.
If you sell or manage Ball Dasher Boards, these two topics connect more than you’d think. Clean gear protects the rink. Balanced production protects your schedule. Both protect your reputation.
Table of Contents
Job Site Cleaning and Decontamination Workflow
You don’t need fancy words here. You need a repeatable routine that crews can follow when they’re tired and in a hurry.
Pre-cleaning and soil removal
Start with gross removal. This sounds obvious, but people skip it.
- Scrape off tape residue and stuck-on dirt first.
- Sweep or vacuum loose dust.
- Wipe away wet spills before they dry.
Why? Because grime blocks your next step. If you jump straight to “disinfect,” you’re often just smearing stuff around. Not great.
Disinfectant contact time and label rules
Here’s the part crews mess up all the time: contact time.
- Disinfectants need the surface to stay wet long enough to work.
- The label tells you the dwell time and dilution. Follow it.
- Don’t “quick wipe” and call it done. That’s just… wishful thinking.
Yeah, it feels slow. But it saves rework later.
Cross-contamination control for tools and hardware
If you only clean the boards but ignore the rest, you’re leaving the back door open.
- Separate “dirty” and “clean” bins for brackets, screws, corner pieces.
- Use dedicated wipes for the tools you touch all day (drivers, drill handles).
- Bag used rags. Don’t toss them back in the truck loose. That’s asking for smell + mess.
This is basic decon discipline. It keeps your next setup cleaner, faster, and less drama.
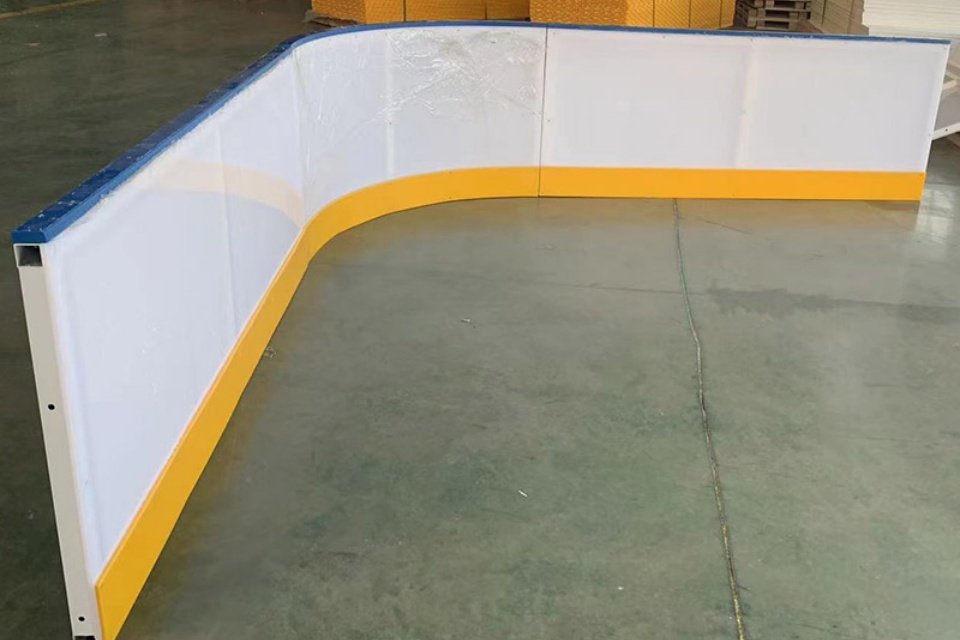
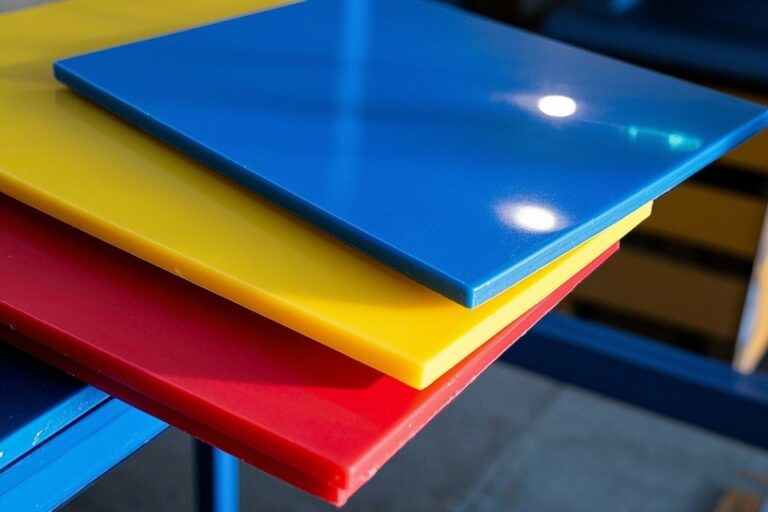
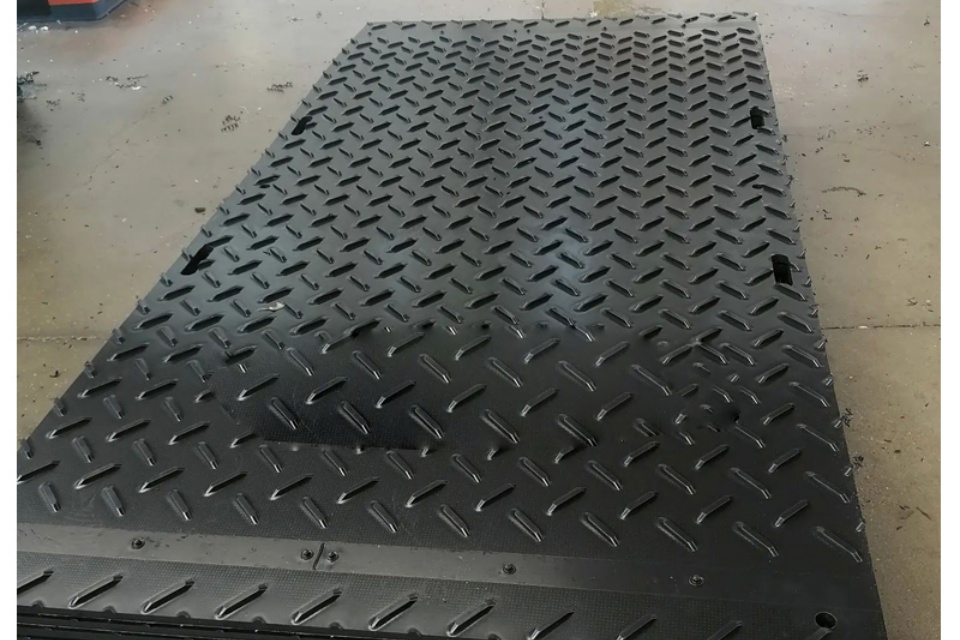
Cleaning Considerations for HDPE and UHMWPE Dasher Boards
Your boards aren’t random plastic. On your site, you position floor ball dasher boards as durable HDPE with a smooth surface, built for long-lasting play.
That changes how you should clean them.
Surface scratch risk and “smooth play” needs
A smooth face helps play look clean and consistent. It also shows scratches fast.
Do this:
- Use mild detergent + soft cloth for everyday marks.
- Test any new chemical on a small corner first (seriously).
- Rinse well so you don’t leave a film that makes the surface tacky.
Avoid this:
- Rough pads that haze the surface.
- Random solvents because “it worked once.” Some chemicals can dull plastic over time. Not always, but why gamble.
Outdoor weatherproof setup and storage
Your site also highlights boards that handle moisture, UV, and temperature swings for indoor/outdoor use. That’s helpful, but storage still matters:
- Let boards dry before stacking.
- Don’t trap moisture between panels.
- Keep straps snug, not crushing. You want “secure,” not “warped later.”
Quick Field Checklist Table: Cleaning and Decontamination After Teardown
| Common job site mess | What to do first | Then do this | Crew tip |
|---|---|---|---|
| Dust + grit | Sweep/vacuum | Wash with mild detergent | Start at “clean” areas, move to “dirty” |
| Tape glue | Peel/scrape gently | Spot-clean, then full wipe | Don’t gouge the surface chasing glue |
| Sports drink / food | Blot fast | Wash, rinse, then disinfect if required | Sticky residue attracts more dirt later |
| Mud / outdoor grime | Knock off chunks | Wash + rinse thoroughly | Change water often; don’t clean with soup |
| Mystery stains | Test small spot | Use approved cleaner, then rinse | If it smells harsh, stop and check |
Why Post-Jobsite Cleaning Protects Rink Safety and Buyer Trust
A buyer doesn’t just buy boards. They buy fewer complaints.
Clean boards help with:
- Better appearance for sponsors and spectators.
- Fewer slip-and-stick spots near corners.
- More predictable rebound off the wall (huge in floorball).
Line Balancing Fundamentals in Plastic Board Manufacturing
Now let’s jump to the shop floor.
You can offer “fast mass production,” but the factory has to earn it every day. Line balancing is how you do that without pushing people into overtime chaos.
Takt time vs cycle time
- Takt time = how often you need one finished unit to meet demand.
- Cycle time = how long one station takes to do its work.
If one station takes longer than takt, that station becomes your problem child. It sets the pace for everything behind it.
Bottleneck station and constraint
Don’t fight the whole line at once. Find the constraint.
In board production, common constraints look like:
- CNC routing queue
- Drilling/slotting delays
- Edge finishing (deburr, chamfer, polish)
- Final inspection holds because specs aren’t clear
Fixing non-constraints first can feel productive, but it mostly creates WIP piles. And piles hide defects. Everyone hates that.
Work content balancing with a Yamazumi chart
This is a simple trick:
- List each task (cut, route, drill, edge finish, clean, pack).
- Assign time per task (use your standard time).
- Stack tasks per station until you hit takt.
- Move tasks around to level the load.
It’s not magic. It’s just visibility.
Example Table: Simple Line Balancing Snapshot (Illustrative)
| Station | Main work | Cycle time (min) | Notes |
|---|---|---|---|
| 1 | Material prep + labeling | 3.0 | Label early for traceability |
| 2 | CNC routing | 6.5 | Often the constraint |
| 3 | Drill/slot hardware points | 4.0 | Depends on hole pattern variety |
| 4 | Edge finishing | 5.5 | Deburr + corner safety |
| 5 | Cleaning + final wipe | 3.5 | Don’t ship dusty boards |
| 6 | Pack + kit hardware | 4.5 | Kitting prevents missing parts |
If your takt target is 5 minutes, Station 2 and 4 will choke the line. You don’t need a big meeting to see it. You just need this table on the wall.
Practical Line Balancing Moves for CNC-Routed Dasher Boards
Here are fixes that actually work in real plants.
CNC routing workload leveling
- Pre-stage sheets close to the router (less forklift dance).
- Run common programs in batches to reduce changeover.
- Use better nesting so the router spends more time cutting, less time “air cutting.”
Shops call this “keep the spindle fed.” It’s not polite, but it’s true.
Edge finishing flow (where time disappears)
Edge finishing is sneaky. It looks small, then eats your day.
- Split edge finishing into two steps: rough deburr + final touch.
- Add simple go/no-go gauges for edge radius and corner safety.
- Standardize tools so operators don’t hunt for bits and wheels (basic 5S).
Packaging and kitting (the last-mile trap)
Packing can ruin a balanced line if it turns into scavenger hunt.
- Pre-kit brackets and fasteners per board set.
- Use a packing checklist with signatures (yes, really).
- Put labels, corners, and straps in one fixed location.
This reduces “missing parts” calls later. Those calls waste everyone time, including yours.
A Simple Two-Lane Plan: Decon Lane + Production Lane
If you want this to run smooth, set two “lanes”:
- Decontamination lane (field / return / staging)
- Dirty return zone
- Cleaned-and-approved zone
- Simple checklist + label
- Production lane (factory flow)
- Standard work per station
- Balanced workload by takt
- Clear constraint management
When you do this, teardown gets faster, setups get cleaner, and production stays on schedule. Less firefighting. More shipping.
(No fluff, just product):
https://uhmwpe-manufacturer.com/floor-ball-dasher-boards/
If your wants smoother jobsites and smoother production, you gotta run both lanes, not only one.