-
Tian Dong Industrial Park, Decheng District Economic and Technological Development Zone, Dezhou City
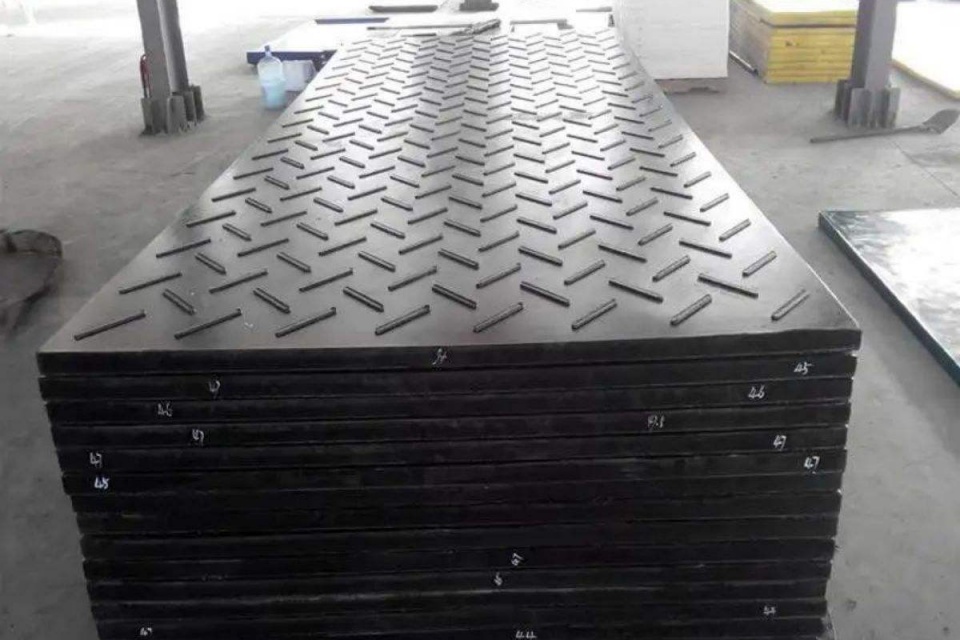
Fastening & Countersinks On Fender Pads: Avoiding Stress Risers
When a fender pad fails, it almost never “just breaks.”
Most of the time, you can trace it to one small spot. A sharp edge. A rough hole. A deep countersink. One tiny detail that turns into a crack starter. That’s what people mean by a stress riser.
If you work around docks, barges, and ship berths, you’ve seen it. The pad looks fine for weeks. Then you notice stress whitening near a bolt. Later you see a hairline crack. After that, the hole starts to “walk” and the pad gets loose. Now the face isn’t flat anymore, and you get more wear, more chafe, and more rework.
Let’s talk about how to stop that, without turning this into a lab report. I’ll keep it practical. Some shop talk too.
Table of Contents
Stress riser
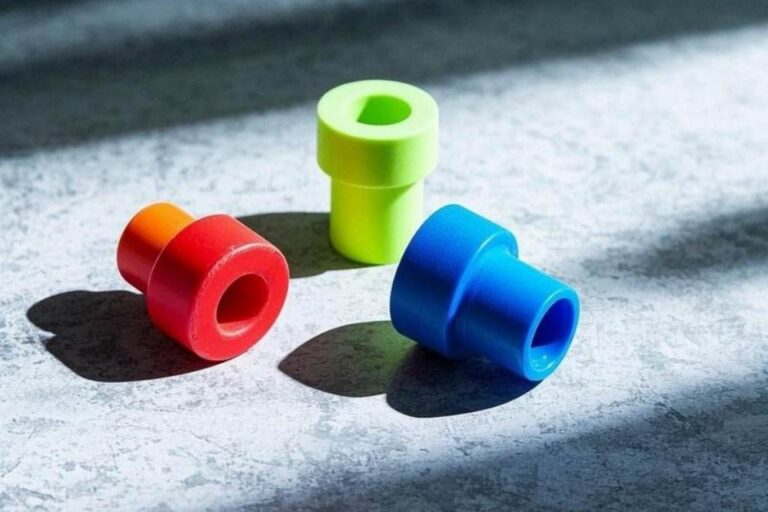
A stress riser is any feature that makes stress pile up in one small area.
Plastics don’t love that. UHMWPE and HDPE handle impact well, but they can still crack when stress keeps hitting the same sharp spot.
Common stress risers on fender pads:
- Sharp inside corners
- Rough hole edges, burrs, tool marks
- Deep countersinks with a hard “knife edge”
- Holes too close to the pad edge
- Small washers that crush the surface
Think of it like this. If you press your finger on a table, it’s fine.
If you press the same force with a needle, you punch a mark. Same load, smaller area. That’s the whole story.
Countersink
Countersinks look clean. They also hide bolt heads and reduce snag points.
But a countersink is also a built-in notch. If you cut it too sharp, you basically carve a crack starter right into the pad. Not great.
Countersink geometry
Here’s the simple rule: avoid sharp transitions.
- Don’t over-cut the countersink depth.
- Don’t leave a sharp rim at the top edge.
- Keep the tool sharp and steady. Chatter marks are tiny stress risers.
Also, don’t treat UHMWPE like aluminum.
Plastic wants clean cutting, low heat, and no “angry grinding.” If you melt the surface a little, it can smear and leave a weak edge. That edge can fail later. It’s annoying, because it looks ok at first.
Flush mount vs. proud mount
A lot of teams chase “perfect flush.” I get it. You don’t want bolt heads rubbing hull paint.
But going too deep to “make it flush” is a classic mistake. Sometimes a shallow recess + a larger bearing surface is safer than a deep countersink.
Hole spacing
Most cracking near fasteners isn’t random. It’s layout.
Edge distance
If the hole sits too close to the pad edge, you don’t have enough material to carry the load.
The pad can split from the edge, especially under cyclic impact.
Hole-to-hole spacing
If holes sit too close together, the stress fields overlap.
That makes one “weak zone” between holes. Then cracks link up.
| Layout item | Simple rule of thumb (D = hole diameter) | Why it helps |
|---|---|---|
| Hole-to-hole spacing | ≥ 1D | Reduces stress overlap |
| Edge distance (outer edge) | ≥ 2D | Prevents edge splitting |
| Edge distance (inner wall / cutout) | ≥ 1D | Keeps load path stronger |
If your pad sees heavy berthing hits, go bigger. Bigger spacing rarely hurts. Tight spacing often does.
Washer bearing stress
This part is boring, but it saves pads.
Small washers concentrate load.
That creates bearing stress right under the washer. UHMWPE can deform under that pressure, then it creeps over time. Now your bolt preload drops, the joint loosens, and the pad starts to move. Movement makes wear. Wear makes heat. Heat makes more creep. It’s a not-fun loop.
Backing plate
A backing plate spreads load even more than a washer.
It also helps when you pull on the pad (tethers, chains, or hardware that sees tension).
If you want fewer failures, this is one of the easiest wins:
- Larger washer area
- Better yet, add a backing plate on the rear side
You don’t need fancy parts. You just need more contact area. That’s it.
Bolt preload and creep
People love one solution: “Just torque it harder.”
That works in steel.
In UHMWPE, it can backfire.
UHMWPE and HDPE can creep (cold flow) under load. So the clamp force drops over time. The joint loosens even if you did everything “right” on day one.
So do this instead:
- Use bigger bearing area (washer/backing plate)
- Use proper hole clearance (don’t force-fit the bolt)
- Use locking hardware where it makes sense
- Re-check torque after the first service window (yeah, it’s a pain, but it helps)
Also, don’t crush the pad. If you see deep washer marks, you went too far.
I’ll say it blunt: over-tightening can create the crack you’re trying to avoid. It happen a lot.
Through-bolts
If your fender pad gets removed and reinstalled often, avoid cutting threads directly into plastic.
Plastic threads can strip. Then people “fix” it by tightening harder, and the hole area gets damaged even more.
Better options:
- Through-bolts + washer/backing plate
- Threaded inserts (for repeat service)
If you need fast field replacement, through-bolts usually win.
They’re simple. They’re predictable. Techs like them.
Deburring
Deburring sounds like cosmetic work. It isn’t.
A burr at the hole edge acts like a micro-crack starter. Under repeated loading, the crack grows. Sometimes you don’t see it until it’s too late.
Do this:
- Light deburr on both sides of the hole
- Avoid aggressive sanding that overheats the plastic
- Keep edges smooth, not sharp
You want the hole edge to feel “soft” to the touch.
Not razor-ish.
Field scenarios
Scenario 1: “We need it flush”
A dock team wants a smooth face. They cut deep countersinks to bury the bolt heads.
A month later, cracks show up around the countersinks, right where the cone ends.
Fix: reduce countersink depth, smooth the transition, and increase bearing area.
Flush is fine. Over-flush is trouble.
Scenario 2: “It keeps getting loose”
The pad looks fine but starts to rattle. Techs re-torque it. It loosens again.
That’s creep plus small bearing area.
Fix: bigger washers or backing plates, plus a torque re-check plan.
Scenario 3: “One hole always breaks first”
That’s usually layout or edge distance.
Fix: move the hole farther from the edge, or change the hardware pattern.
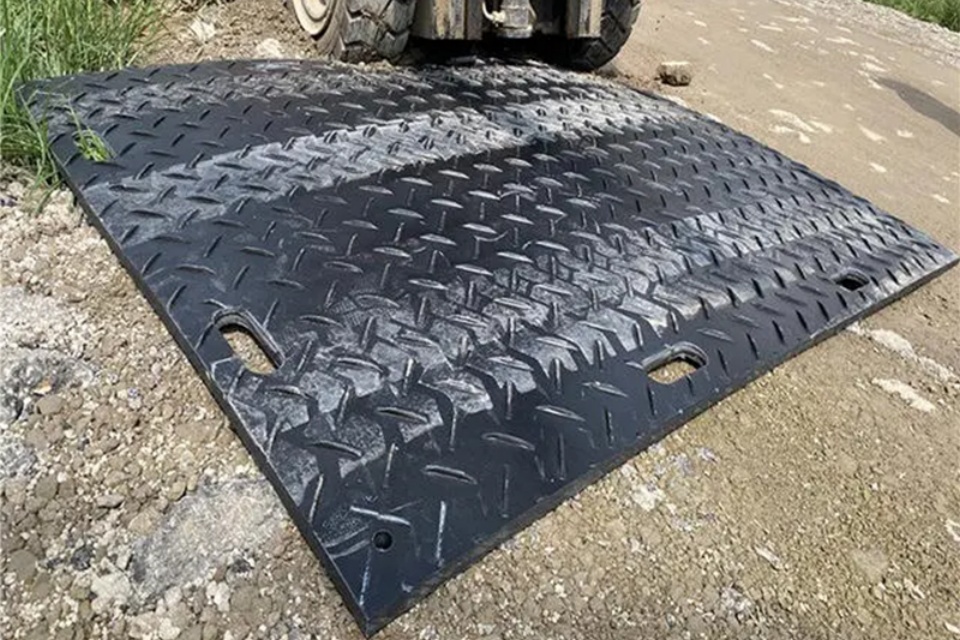
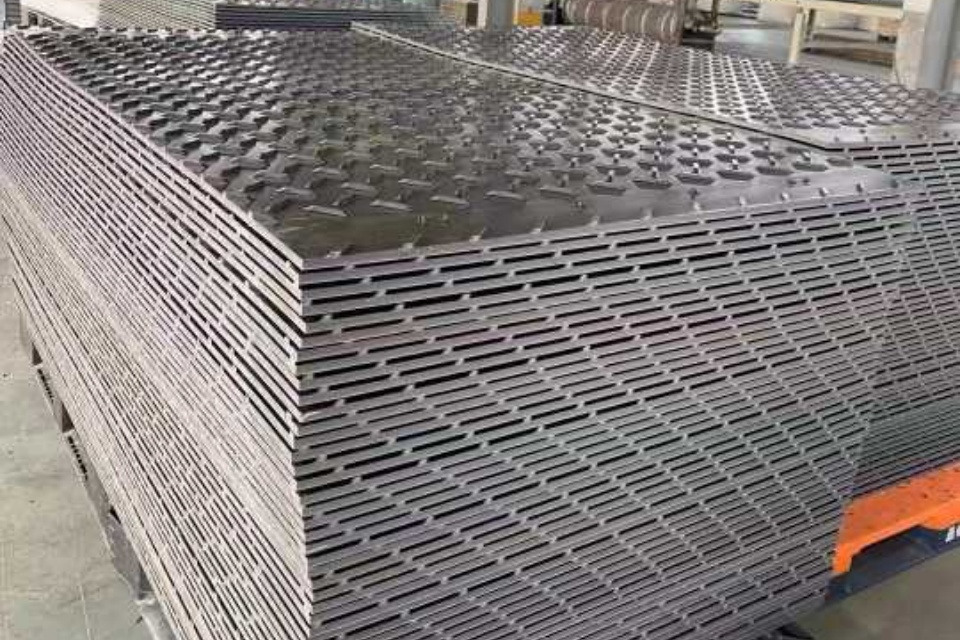
Fender pads and ground protection mats
You might wonder why this matters for Ground Protection & Road Mats and Quick Mats.
Same material behavior. Same fastening mistakes.
On job sites, mats get bolted, pinned, chained, and dragged. Hardware points see shock loads. They see vibration. They see bad installs at 6am. If you build mats from UHMWPE/HDPE and you add fasteners, these rules still apply.
If you want to check the material options on our side, start here:
- Ground Protection & Road Mats: https://uhmwpe-manufacturer.com/ground-protection-road-mats/
- Quick Mats: https://uhmwpe-manufacturer.com/quick-mats/
We support OEM/ODM, bulk wholesale orders, and custom drilling/machining patterns. Samples can move fast too (often days, not weeks). If you work with Dongxing Rubber on fender systems, you already know how much downtime hurts. Cleaner fastening details help you avoid repeat calls and messy warranty talks.
Fastening checklist
Here’s a quick table you can hand to a tech or keep in your QC notes.
| Item | Do | Don’t |
|---|---|---|
| Countersink depth | Keep it shallow and smooth | Cut deep “to be extra flush” |
| Hole edge | Deburr lightly | Leave burrs or tool chatter |
| Washer size | Use large washers | Use tiny washers that bite in |
| Backing support | Add backing plates for high load | Let the bolt head carry it all |
| Hole layout | Keep good edge distance | Drill too close to the edge |
| Tightening | Torque to spec, then re-check | “Send it” with max torque |
References used for the technical points (no external links)
- NASA technical work on countersunk-hole stress concentration
- Avient design guidance on hole spacing and ESCR risk
- DuPont guidance on notch sensitivity and stress concentration in polymers
- Internal manufacturing notes and UHMWPE/HDPE machining/fastening guidance aligned with common plastics practice